Once we finished building "the fort" I was eager to add up the scraps and see if if I could scrape together enough for this bench. All but one board was originally on a dock in Lake Lewisville then it was passed up for use in our elevated fort! These are truely used and discarded pieces.
This first picture is of the completed bench per directions on the www.knock-offwood.com site. A site that I can't seem to navigate away from ... EVER! A HUGE thanks to Ana White for her amazing plans and site that she so generously shares.This is with nail holes filled but not sanded yet. After this I sanded down the wood filler and also evened out some of the edges where the warped wood didn't line up correctly.
 Here I've primed the bench with some kilz primer left over from who knows what. After taking this picture I noticed the leg that wasn't primed all the way and remedied that ;-)
This was the most surprising step... the black spray paint (rustoleum) covered easily with ONE coat! After letting it dry the next couple steps I forgot to take pictures of:
I took an old candle and rubbed it over the bench taking care to make sure to go over the "character marks" and all edges and corners. My bench was hot from being in the sun so the candle wax melted on a bit. On other projects I've done that weren't in the sun I needed to brush off the excess wax that was just sitting on the surface . The top paint color will only easily come off of the places that you put wax.
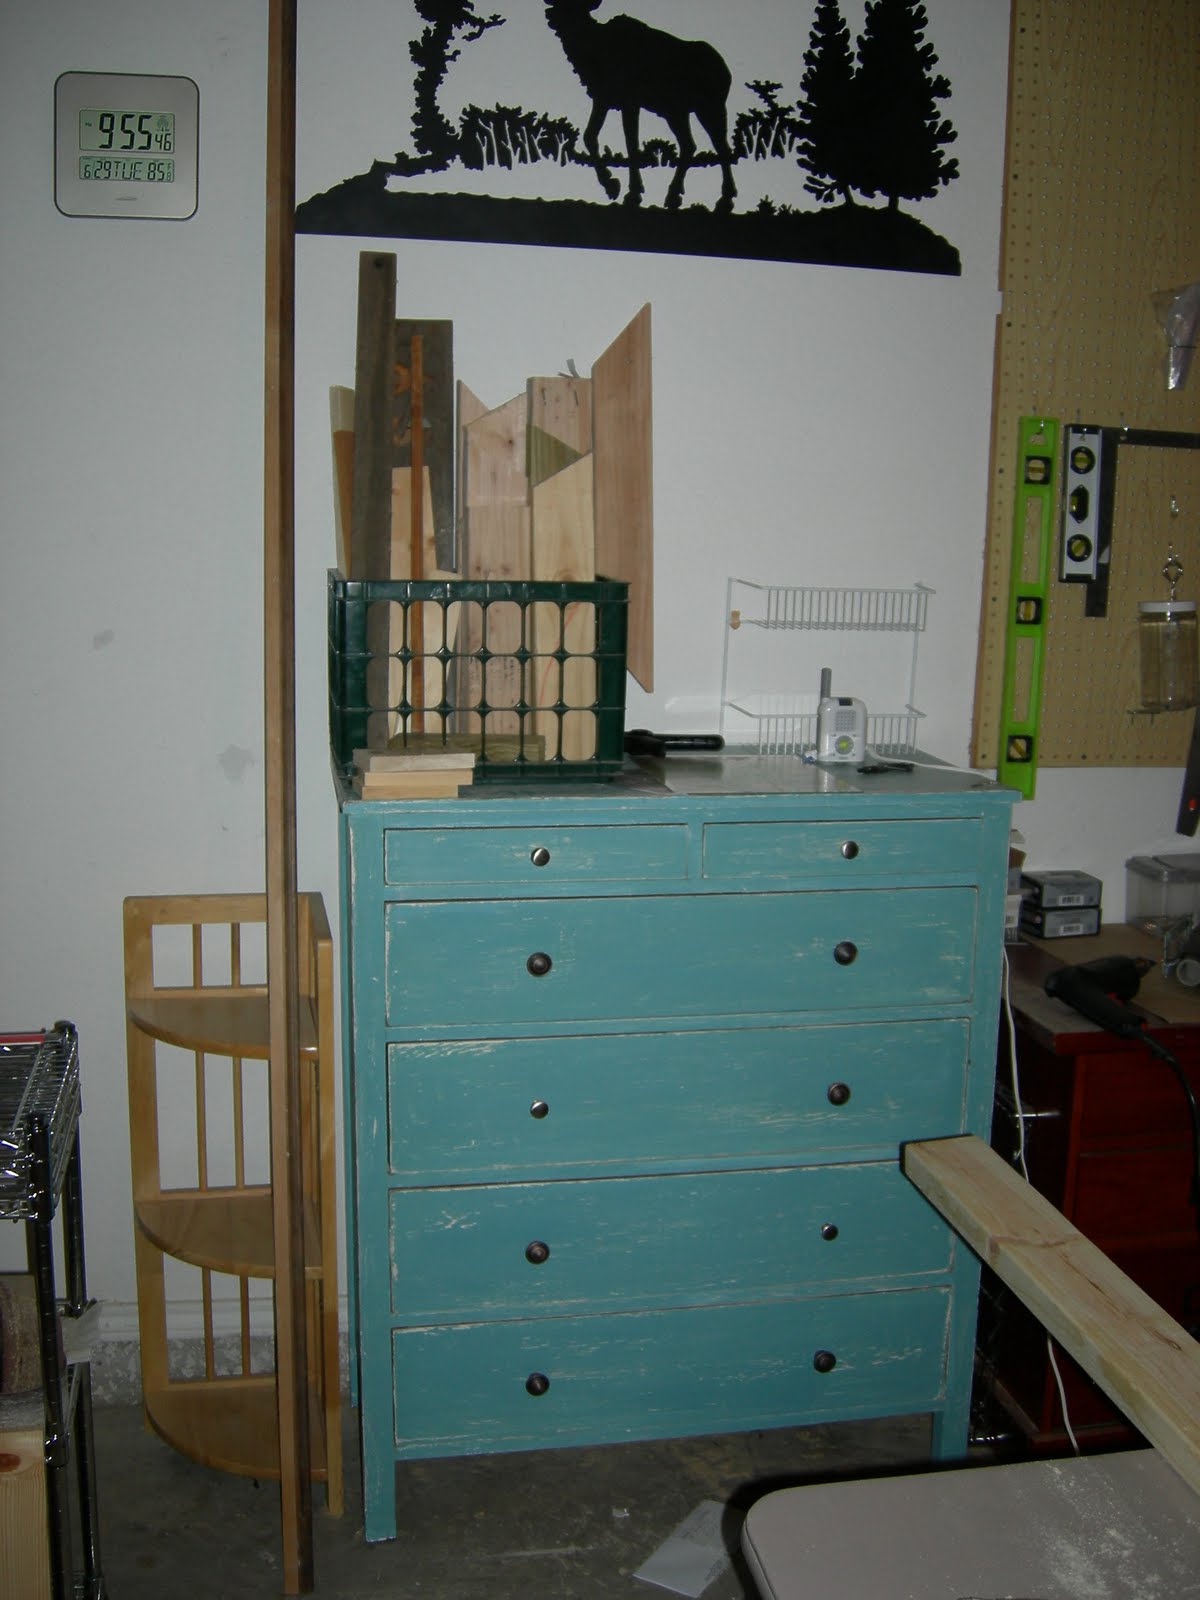
I then painted the bench with some blue (oops paint) and let it dry completely (not in the sun).
Next step was to sand. I chose to do it by hand with a sheet of sand paper for more control. I think I went back over a couple parts with a little hand sander but most of it was by hand. The wax makes the second paint color come off REALLY easily, no real elbow grease required.

Finally I finished it off with some spray clear coat. (I am also going to go back over it with a coat or two of poly but I haven't gotten there yet).

It seems poetic that my favorite project to date is made from used discarded wood and left over finishing materials. There is just something about making a beautiful and useful item out of materials that would have ended up as trash. Makes me think of how God uses people who are broken and beat up by life and does amazing things with them! Redemption.
Lessons learned:
1) As long as a board is pretty straight and solid the rest just adds character
2) When things don't line up the sander is your best friend
3) I love the black surprise color under the blue.
4) Using just materials you have on hand is oddly satisfying
1) As long as a board is pretty straight and solid the rest just adds character
2) When things don't line up the sander is your best friend
3) I love the black surprise color under the blue.
4) Using just materials you have on hand is oddly satisfying